Refer to the Spinnaker documentation for configuring authentication at https://www.spinnaker.io/setup/security/authentication/
What To Expect
This guide should include:
- Basic Auth
- LDAP Authentication
- Github
- Configuring Other OAuth providers
- SAML
- x509
- Enable Sticky Sessions
Note: If you are going to use authentication with your Spinnaker instance you will no longer be able to use the API without setting up x509 authentication
Basic Auth
- Add the following to
/opt/spinnaker/config/gate-local.yml:
security:
  basic:
    enabled: true
  user:
    name: example-username
    password: example-password
- This will allow you to call the Spinnaker API using basic auth:
curl --user example-username:example-password --header 'Accept: application/json' http://spinnaker-host.example.com:8084/applications
LDAP Authentication
Add the following to /opt/spinnaker/config/gate-local.yml:
ldap:
  enabled: true
  url: ldaps://ldap.mycompany.com/dc=mycompany,dc=com
  userDnPattern: uid={0},ou=users
- You should adjust
mycompanyandcomto match your organization. See the Spinnaker LDAP Documentation for more options. - Enable Sticky Sessions
- Add the following to your environment file, typically
/opt/spinnaker/env/ha.env
AUTH_ENABLED=true
- Restart Spinnaker
service armory-spinnaker restart
- Jump to section Configuring OAuth for Gate to configure gate.
- Add the following to
/opt/spinnaker/config/gate-local.yml:
security:
  oauth2:
    enabled: true
    client:
      clientId: ################################
      clientSecret: ################################
      userAuthorizationUri: https://accounts.google.com/o/oauth2/v2/auth  # Used to get an authorization code
      accessTokenUri: https://www.googleapis.com/oauth2/v4/token          # Used to get an access token
      scope: profile email
    resource:
      userInfoUri: https://www.googleapis.com/oauth2/v3/userinfo          # Used to the current user's profile
    userInfoMapping:  # Used to map the userInfo response to our User
      email: email
      firstName: given_name
      lastName: family_name
    userInfoRequirements: # Used to filter access by userInfo attributes
      email: /^.*@armory.io$/ # Accepts a Java regular expression or string to match against
- Fill in the values for
clientIDandclientSecretgenerated in the previous step. - Add the following to your environment file, typically
/opt/spinnaker/env/ha.env
AUTH_ENABLED=true
- Restart Spinnaker
service armory-spinnaker restart - Enable Sticky Sessions
A full list of user attributes can be found here. Any of these properties can be used as userInfoRequirements.
Github
- Go to https://github.com/organizations/YOUR_ORG_HERE/settings/applications/new
- Set it up to look like:
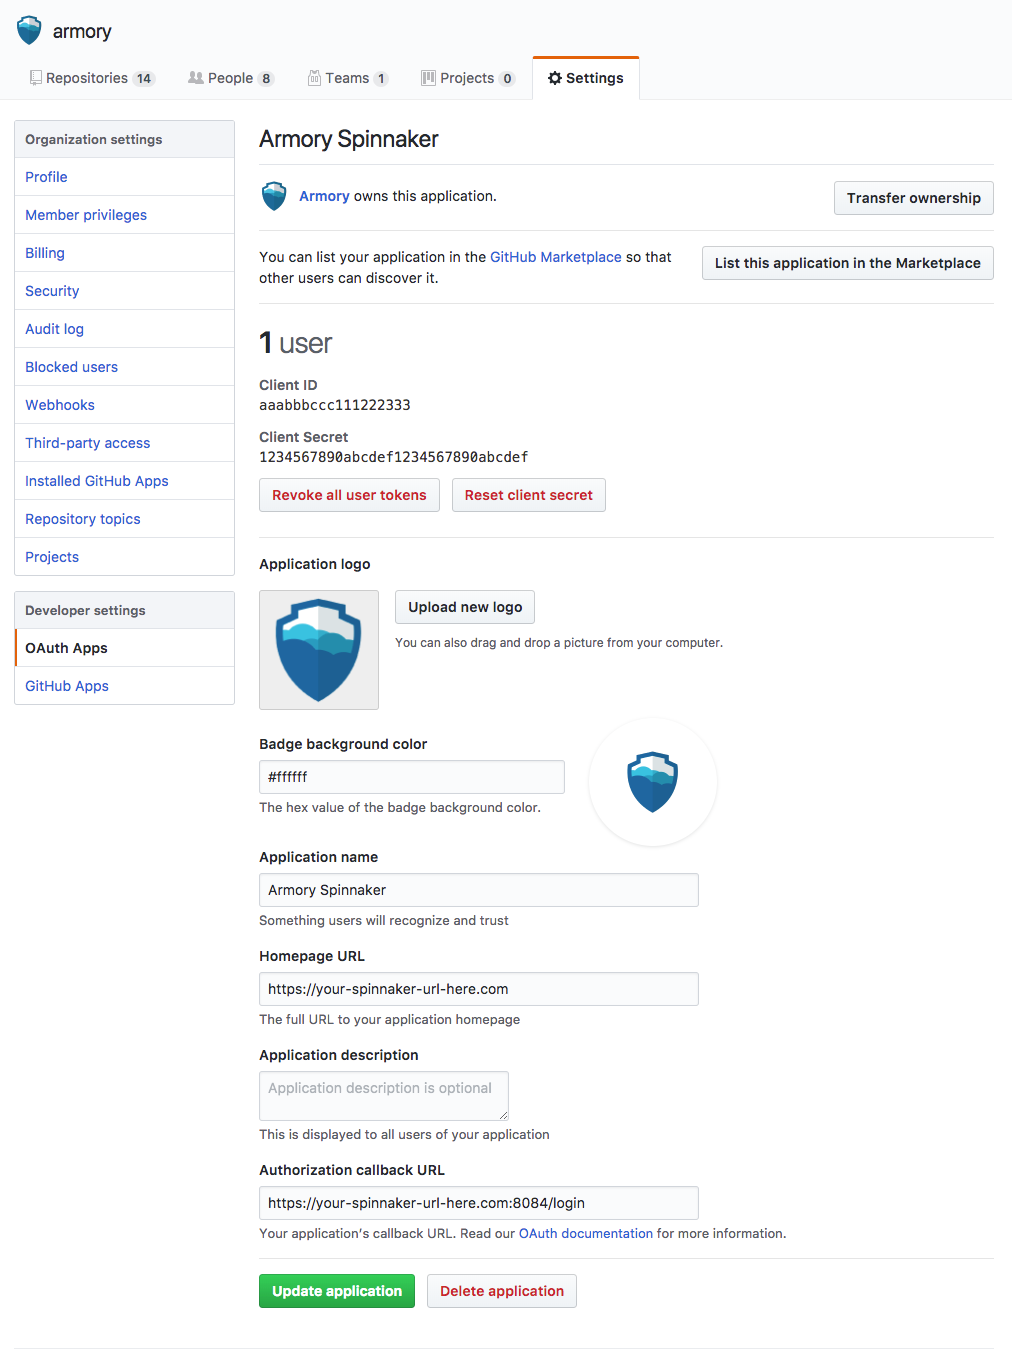
- Armory’s Logo: http://go.Armory.io/shield-white
- Fill in
Homepage URL - Fill in
Authorization callback URL - Make sure to use HTTPS for both URLs above.
- Add the following to
/opt/spinnaker/config/gate-local.yml:
security:
  oauth2:
    enabled: true
    client:
      clientId: ###############
      clientSecret: #############################
      userAuthorizationUri: https://github.com/login/oauth/authorize  # Used to get an authorization code
      accessTokenUri: https://github.com/login/oauth/access_token     # Used to get an access token
      scope: read:org,user:email
    resource:
      userInfoUri: https://api.github.com/user  # Used to the current user's profile
    userInfoMapping:  # Used to map the userInfo response to our User
      email: email
      firstName: name
      lastName:
      username: login
- Fill in the values for
clientIDandclientSecretgenerated in the previous step. - Add the following to your environment file, typically
/opt/spinnaker/env/ha.env
AUTH_ENABLED=true
- Restart Spinnaker
service armory-spinnaker restart - Enable Sticky Sessions
Github Organization Restriction
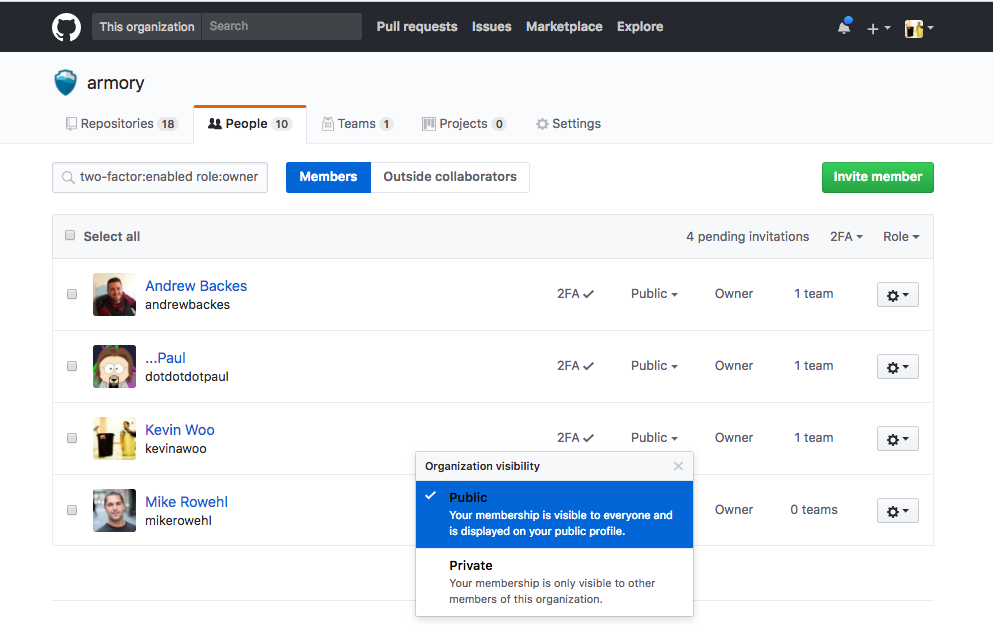
By default Github OAuth only requires that a user has a Github account without any restrictions on that account. Many installations will also want to require the user belong to a company organization to be authenticated successfully. When using the organization restriction members must have their visibility set to Public. You can view the visibility setting for members on the People tab of your organization.
- Ensure that everyone in your organization has their visibility set to Public if they plan to login to Spinnaker:
- Add a
providerRequirementssection to the file at/opt/spinnaker/config/gate-local.ymlunder security.oauth2 so that your configuration looks like the following:
security:
  oauth2:
    providerRequirements:
      type: github
      organization: ########
The organization field should be the name of the github organization you want to use to restrict membership.
- Restart Spinnaker
service armory-spinnaker restart
Configuring Other OAuth providers
The configuration below is shown for Github, however the process is similar with Azure OAuth, Okta, Google or Facebook.
- Add the following to
/opt/spinnaker/config/gate-local.yml:
security:
  oauth2:
    enabled: true
    client:
      clientId: #################################
      clientSecret: #############################
      userAuthorizationUri: #####################  # Used to get an authorization code
      accessTokenUri: ###########################  # Used to get an access token
      scope: ####################################
    resource:
      userInfoUri: ################  # Used to the current user's profile
    userInfoMapping:  # Used to map the userInfo response to our User
      email: ######################
      firstName: ##################
      lastName: ###################
      username: ###################
- Fill in the values for marked with
#####.... - Add the following to your environment file, typically
/opt/spinnaker/env/ha.env
AUTH_ENABLED=true
- Restart Spinnaker
service armory-spinnaker restart - Enable Sticky Sessions
SAML
See Spinnaker’s docs for more information.
x509
x509 certificates are typically used to allow users to connect to the Spinnaker API. This is especially helpful if you want different groups within your organization to maintain different keys. You can re-use the same certificate as you used in the previous step but might want to maintain different certificates for groups within your organization.
In order to enable x509 certificates we’ll need to add an additional trust certificate to the keystore.
In your /opt/spinnaker/config/gate-local.yml file add the following:
x509:
  enabled: true
  subjectPrincipalRegex: EMAILADDRESS=(.*?)(?:,|$)

server:
  ssl:
    enabled: true
    keyStore: /opt/spinnaker/config/keystore.jks
    keyStorePassword: ${YOUR_PASSWORD}
    keyAlias: server
    trustStore: /opt/spinnaker/config/keystore.jks
    trustStorePassword: ${YOUR_PASSWORD}
    clientAuth: want

default:
  apiPort: 8085
The configuration adds an additional port for x509 certificates. This is so you can terminate HTTPS to end-users of the UI on the ELB and continue using API on a different port with x509 client certificates.
We’ll need to create an additional key for the client/server to use for authentication. The example below is for self signed certificates:
Generate Certificate Authority
openssl genrsa -des3 -out ca.key 4096
Self-sign a certificate with the key that was created in the previous step
openssl req -new -x509 -days 365 -key ca.key -out ca.crt
Create a client key
openssl genrsa -des3 -out client.key 4096
Generate a new Certificate Signing Request (CSR) from the client key used in the previous step.
openssl req -new -key client.key -out client.csr
Next, we’ll self-sign the certificate to use on the server
openssl x509 -req -days 365 -in client.csr -CA ca.crt -CAkey ca.key -CAcreateserial -out client.crt
Import the root CA into the keystore
keytool -importcert -file ca.crt -keystore keystore.jks -alias ca
Import the client certificate into the keystore
keytool -importcert -file client.crt -keystore keystore.jks -alias client
Then restart Armory:
service armory-spinnaker restart
In order for your client to communicate with the API you’ll need to a PEM formatted file which contains both the cert and key.
cat client.crt client.key > client.pem
To test the certificate you can use curl directly from the host. It should return a JSON list of applications:
curl https://localhost:8085/applications --cert client.pem -k
x509 and Fiat
If you’re running fiat you’ll need to tell Spinnaker which groups are associated with your certificate. x509 provides a field called 1.2.840.10070.8.1 which can be embedded in the client certificate to assign groups to the certificate. The Spinnaker OSS documentation provides a guide on how to generate a client certificate with the 1.2.840.10070.8.1 field.
You’ll also need to update your /opt/spinnaker/config/gate-local.yml file add the following:
x509:
  enabled: true
  subjectPrincipalRegex: EMAILADDRESS=(.*?)(?:,|$)
  roleOid: 1.2.840.10070.8.1
Then restart Armory
service armory-spinnaker restart
Enable Sticky Sessions
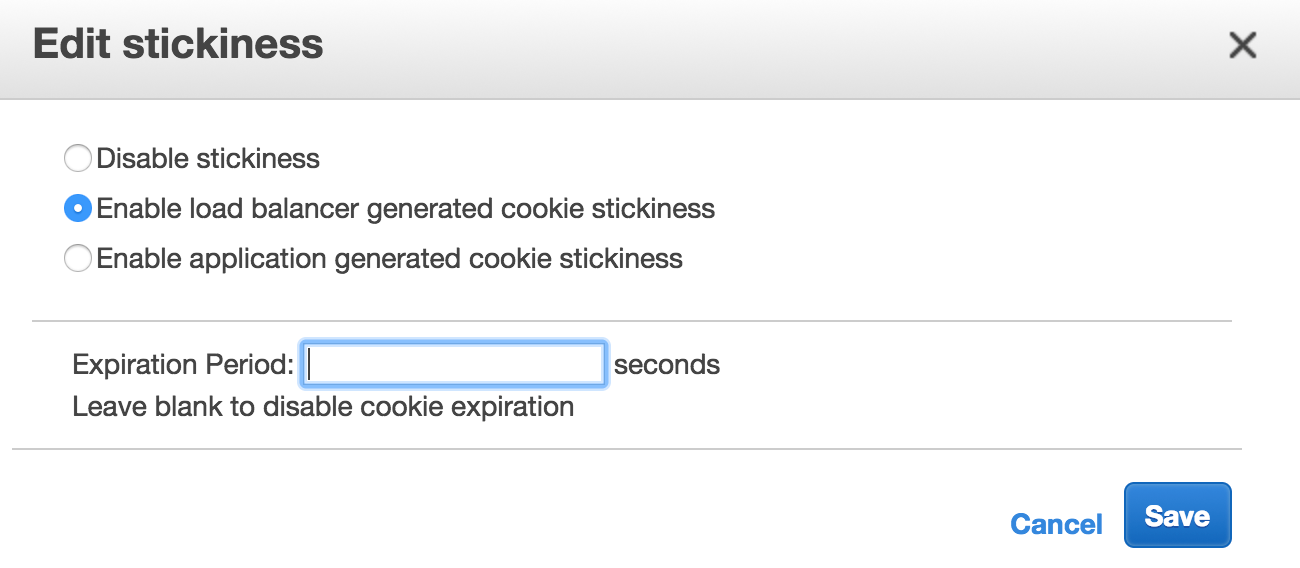
Before you configure authentication you’ll need to enable sticky sessions for the external ELB for port 8084 (Gate). This must be done through the AWS console.
- For an infinite session leave the
Expiration Periodblank. - Note Make sure to use load balancer generated cookies.